Thursday, 27 March 2008
Wednesday, 26 March 2008


Group Idea
Wednesday, 19 March 2008
Influence
 My idea is to make something like the Interactive Coffee Table by the Evil Mad Scientist Laboratories have made.
http://www.evilmadscientist.com/article.php/tablekits
The designers have used a coffee table and added hundreds of LEDs on the top surface of the table. The LEDs responds to any movement above the table.
I believe all my ideas are going to revolve around sensors. Sensors of activity, heat etc. The sensors may lead to music, light or movement.
Sunday, 16 March 2008
Reflection

Wooden mirror consists of video camera, motors and computers on board with sound. As the viewer interacts with the mirror the reflection of the viewer is shows up on the surface. The artist has used a combination of natural (wood) and digital (computer) to put a piece together.
Wednesday, 12 March 2008
Pixelsumo
 The work by Dan Paluska and Jeff Lieberman, called Absolut Quartet is an example to prove anything is possible. Both artists made machine which will be making different sounds at different time. Their influence was from a 3D animation called Pipe Dream. In which music was played by robots in Animusic, which was part of the Pipe Dream animation.
Sunday, 9 March 2008
240 Red LEDs
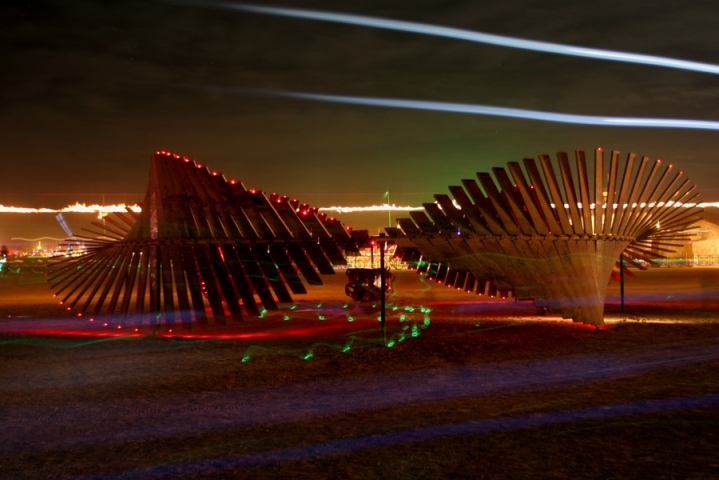
 Project by Ladyada called Duel Nature- Summer 2006 is a mix and match of Sculpture and electronics. The details of the project are not out yet but from the site I read the project consists of 240 red LEDs which are controlled individually to make light patterns on the sculpture. The picture of the project looks beautiful.
 Tuesday, 4 March 2008
Pixelsumo
 Phase - http://www.pixelsumo.com/post/phase
The work based on sound, movement and visuals which attracts people to play. The purpose of the sound generator is to learn and teach sound and music. The way it is presented is very attractive as shown in the picture. The colour theme is strong and eye catch. The movement on the screen keeps the user going more and more steps into it.
Thursday, 28 February 2008
Two Buttons with two LEDs
Codes for Two Buttons
int ledPin = 13; // choose the pin for the LED
int redPin = 12;
int inputPin = 2; // choose the input pin (for a pushbutton)
int whitePin = 3;
int val = 0; // variable for reading the pin status
int val2 = 0;
void setup() {
pinMode(ledPin, OUTPUT); // declare LED as output
pinMode(inputPin, INPUT); // declare pushbutton as input
//for green pin
pinMode(redPin, OUTPUT); // declare LED as output
pinMode(whitePin, INPUT); // declare pushbutton as input
}
void loop(){
val = digitalRead(inputPin); // read input value
if (val == HIGH) { // check if the input is HIGH
digitalWrite(ledPin, HIGH); // turn LED OFF
} else {
digitalWrite(ledPin, LOW); // turn LED ON
}
//for red pin
val2 = digitalRead(whitePin); // read input value
if (val2 == HIGH) { // check if the input is HIGH
digitalWrite(redPin, LOW); // turn LED OFF
} else {
digitalWrite(redPin, HIGH); // turn LED ON
}
}
Button/Switch
Codes for Button
int ledPin = 13; // choose the pin for the LED
int inputPin = 2; // choose the input pin (for a pushbutton)
int val = 0; // variable for reading the pin status
void setup() {
pinMode(ledPin, OUTPUT); // declare LED as output
pinMode(inputPin, INPUT); // declare pushbutton as input
}
void loop(){
val = digitalRead(inputPin); // read input value
if (val == HIGH) { // check if the input is HIGH
digitalWrite(ledPin, LOW); // turn LED OFF
} else {
digitalWrite(ledPin, HIGH); // turn LED ON
}
}
Monday, 25 February 2008
AnalogInput
AnalogInput Codes
int potPin = 2; // select the input pin for the potentiometer
int ledPin = 13; // select the pin for the LED
int val = 0; // variable to store the value coming from the sensor
void setup() {
pinMode(ledPin, OUTPUT); // declare the ledPin as an OUTPUT
}
void loop() {
val = analogRead(potPin); // read the value from the sensor
digitalWrite(ledPin, HIGH); // turn the ledPin on
delay(val); // stop the program for some time
digitalWrite(ledPin, LOW); // turn the ledPin off
delay(val); // stop the program for some time
}
Friday, 22 February 2008


Wednesday, 20 February 2008
Blinking LED
Codes for Blink
int ledPin = 13; // LED connected to digital pin 13
void setup() // run once, when the sketch starts
{
pinMode(ledPin, OUTPUT); // sets the digital pin as output
}
void loop() // run over and over again
{
digitalWrite(ledPin, HIGH); // sets the LED on
delay(1000); // waits for a second
digitalWrite(ledPin, LOW); // sets the LED off
delay(1000); // waits for a second
}
What is Arduino?
Arduino can be connected to software’s like Macromedia flash, Pure Data, Processing, Supercollider on your computer. The programming language used for Arduino is C/C++.Arduino software is an integrated development environment cross platform Java application which acts as a code editor and is also able of transferring firmware successively to the board.
I bought an Arduino for myself which can with a breadboard and an LED. Downloaded the arduino software 10 on personal pc and went through the basic examples. Exercise example such as the Blink and Digital Potentiometer.
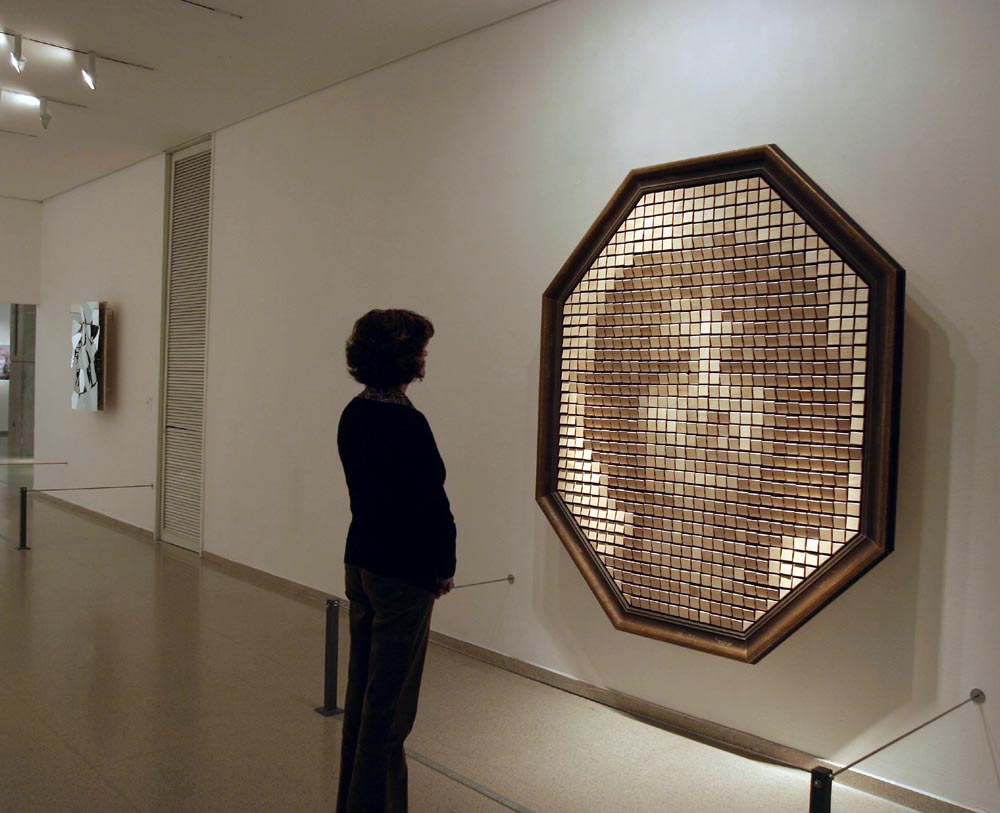
I went to the Listening Post Exhibition in Science Museum on 19 Feb 08 and took pictures as a part of my research. Listening Post is work of Mark Hansen and Ben Rubin based on online communication. Artist Mark Hansen and Ben Rubin have divided their work into seven separate scenes similar to movements in a masterpiece. Each scene with its own internal logic sifting, filtering and ordering the text remains in its own different ways.
Listening Post is an amazing investigation into the character of online communication and the meaning and malleability (flexibility) of data. The masterpiece is a Dynamic Portrait of electronics and contemporary art.
